Okay, thanks to Lexi (Thank-you Lexi!) I finally know how to do the burnt edges look. I tried what you told me and you were right, it turned out great! I then remembered that Becky had e-mailed me months ago how to do it and searched my e-mail for the directions. Here they are:
1. Use the Rectangular Marquee Tool to make a selection an inch and a half in from the edge of the entire photo.
2. Go to ‘Select’ then ‘Feather’ (I typically make the selection about 40+ pixels)
3. Go to ‘Select’ then ‘Inverse’
4. Go to ‘Image’ then ‘Adjustments’ then ‘Levels’
5. Pull the middle slider (it’s gray) to the right a tiny bit
2. Go to ‘Select’ then ‘Feather’ (I typically make the selection about 40+ pixels)
3. Go to ‘Select’ then ‘Inverse’
4. Go to ‘Image’ then ‘Adjustments’ then ‘Levels’
5. Pull the middle slider (it’s gray) to the right a tiny bit
Hope you don't mind me sharing this Becky (which I'm sure you're thinking I'm a Barney for even asking). I chose to use the oval marquee for this picture because it just fit better. Although, I should have moved it down a little bit more but you get the jist. Below is my experiment with it: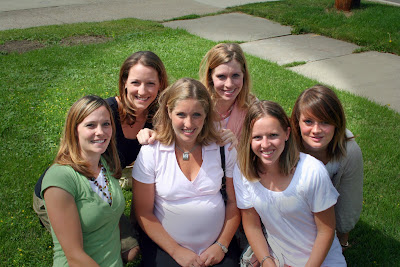
1 comment:
A super quick way to get similar results is just to use the burn tool (the little hand...grouped with the dodge tool that looks like a lollipop). Make the brush HUGE and the opacity really low and just paint away.
Post a Comment